
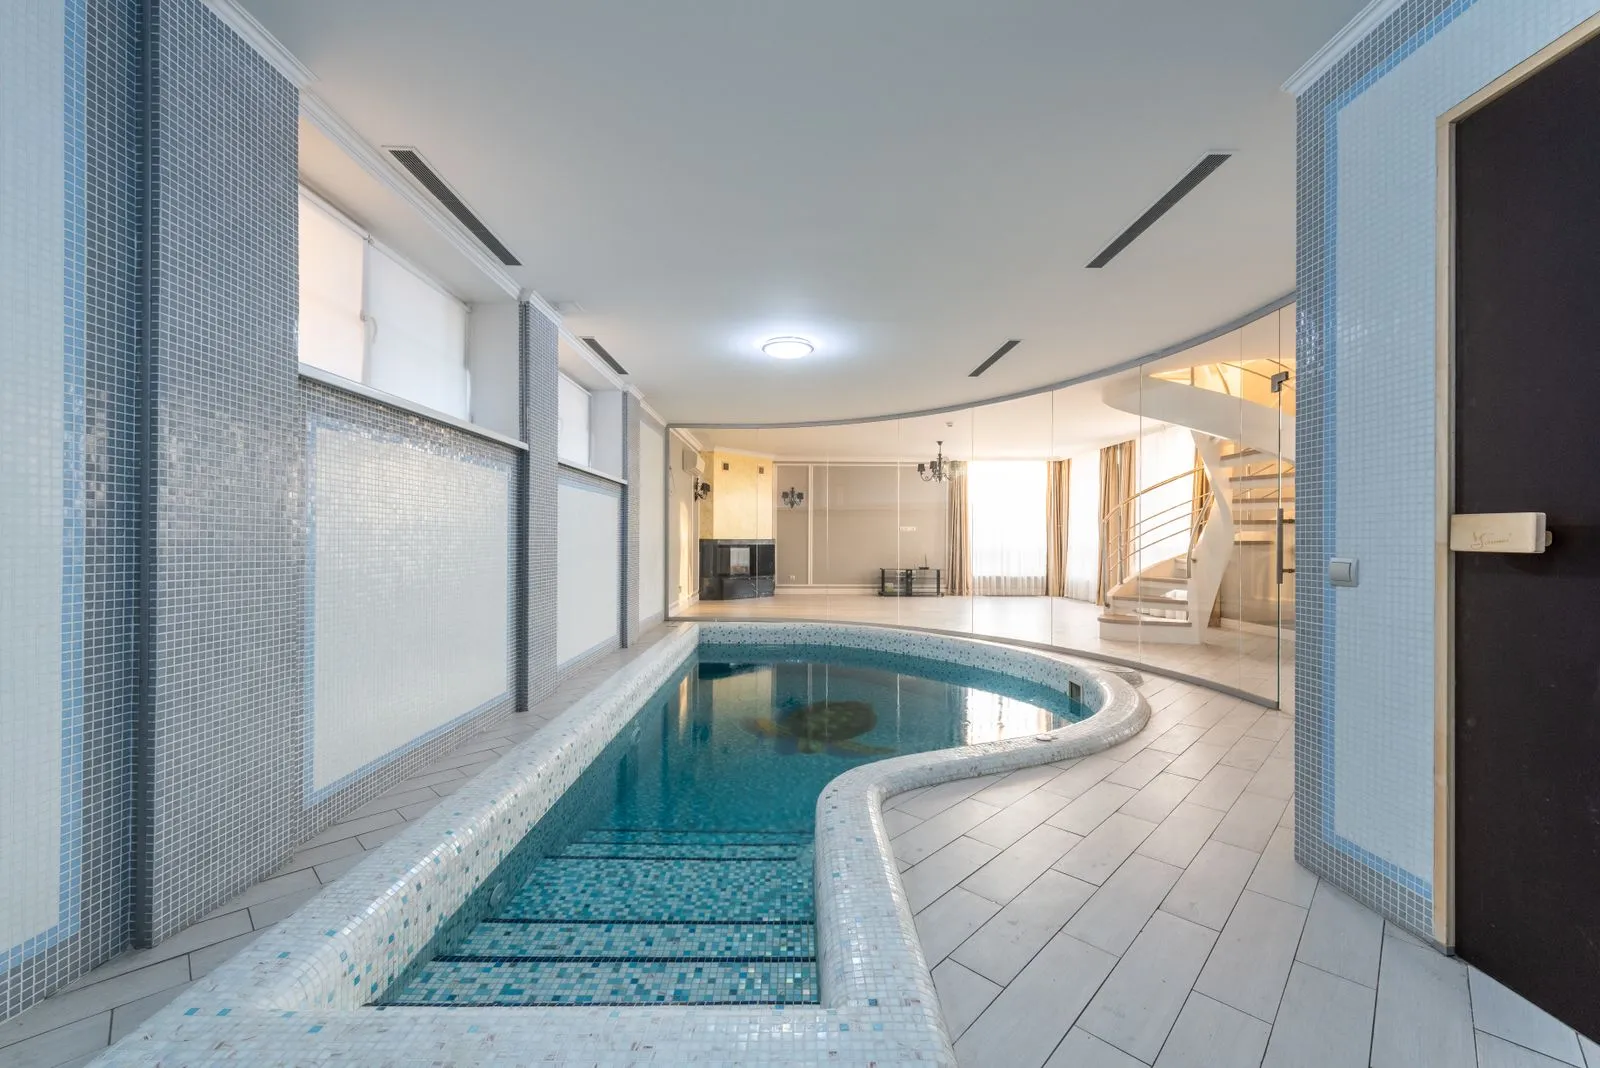
Pool tile installation follows a series of planned steps, and knowing what comes next can make the project feel more manageable. The work typically includes preparing the pool, repairing and cleaning the surface, setting the tile, applying grout, and checking the finished work. The exact process depends on the pool’s condition, tile choice, and project scope. Your installer should explain the schedule, access needs, and care instructions before work begins so you can plan with confidence.
Plan and Prepare the Pool
Before work starts, the installer should review the tile design, measure the areas, and confirm where tile will be installed. Ask how the crew will protect nearby surfaces and where tools and materials will be staged. Pool access may be restricted during the project, and the pool usually needs to be drained below the work area or fully drained, depending on the scope and conditions.
Preparation also includes planning for water management and any required approvals. Pool draining can affect the structure, especially in areas with groundwater pressure, so follow the installer’s guidance rather than draining the pool on your own. Confirm who is responsible for arranging the drain, handling debris, and coordinating any plumbing or pool equipment needs.
Remove Old Tile and Prepare Surfaces
If existing tile is being replaced, the crew removes it and clears away old setting material. This part can be noisy and dusty. The installer then examines the exposed surface for loose material, cracks, or other damage that could interfere with a lasting bond. Any needed repairs should be discussed before new tile goes up, since the condition of the substrate can affect both the schedule and the finished result.
The surface must be sound, clean, and properly prepared before tile is set. The crew may patch damaged areas, smooth uneven sections, and remove dust or residue. They should also check the layout against pool features such as corners, steps, lights, and returns. Careful preparation helps the tile sit evenly and reduces the chance of avoidable gaps or alignment problems.
Set and Align the Tile
Once the surface is ready, the installer lays out the tile pattern and applies a setting material suited to the pool and tile. Tiles are placed in sequence, with attention to consistent spacing, straight lines, and clean transitions around corners and fittings. Small adjustments during this stage help keep the design balanced and make the finished waterline or feature band look uniform.
Setting tile takes patience because the material needs time to hold each piece in place. The crew may work in sections and periodically check alignment as they go. Avoid touching the work area or moving materials unless the installer says it is safe. If you spot a concern, raise it promptly with the project lead rather than trying to adjust the tile yourself.
Grout, Cure, and Inspect
After the setting material has firmed up as directed, the installer applies grout to the joints and cleans excess material from the tile face. The grout type and application method should match the project conditions. The crew may make a final cleaning pass to remove residue, then allow the grout and setting materials to cure according to their product requirements.
The pool should not be refilled or used until the installer confirms the materials are ready and provides any specific start-up instructions. During the final inspection, check that the tile is aligned, joints are filled consistently, and edges are finished neatly. Ask about cleaning products to avoid, how to report a problem, and whether any follow-up visit is planned.
A well-managed pool tile project moves from careful planning and surface preparation to precise installation, curing, and inspection. Before work begins, ask for the expected sequence, access limits, and refill guidance in writing. Manhattan Pool Tile can discuss your project and explain the steps involved; contact the team to plan a consultation.